Introduction to Herringbone Patterns
Ever noticed a lovely zigzag pattern in brickwork and wondered what it’s called? That’s the herringbone pattern, a design that’s as functional as it is visually appealing.
Named for its striking resemblance to the skeleton of a herring fish, this pattern has long been used in a wide range of construction and art projects, from Roman roads to modern-day fashion!
This article delves into the rich history of the herringbone pattern, how it is constructed, and its enduring popularity in various applications today.
Table of Contents
Herringbone Pattern on Bricks

Introduction to Herringbone Pattern
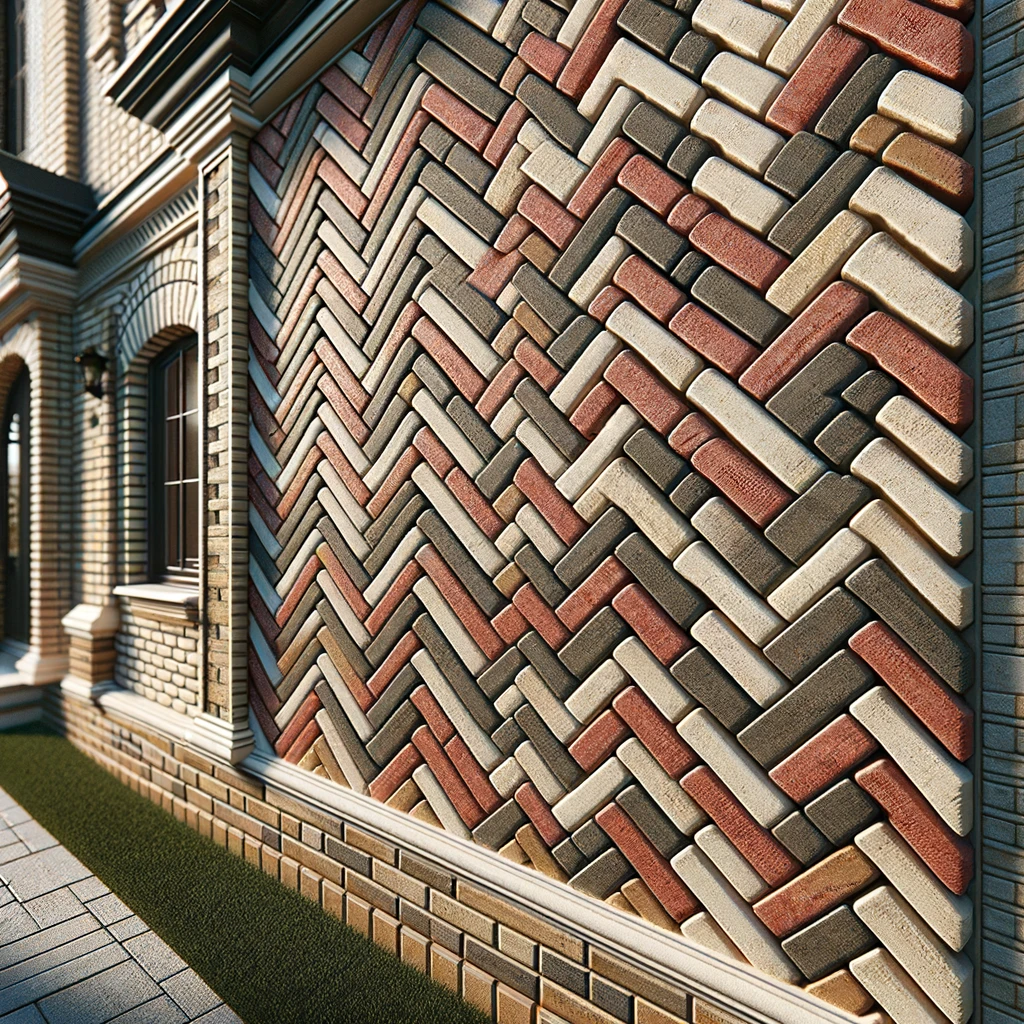
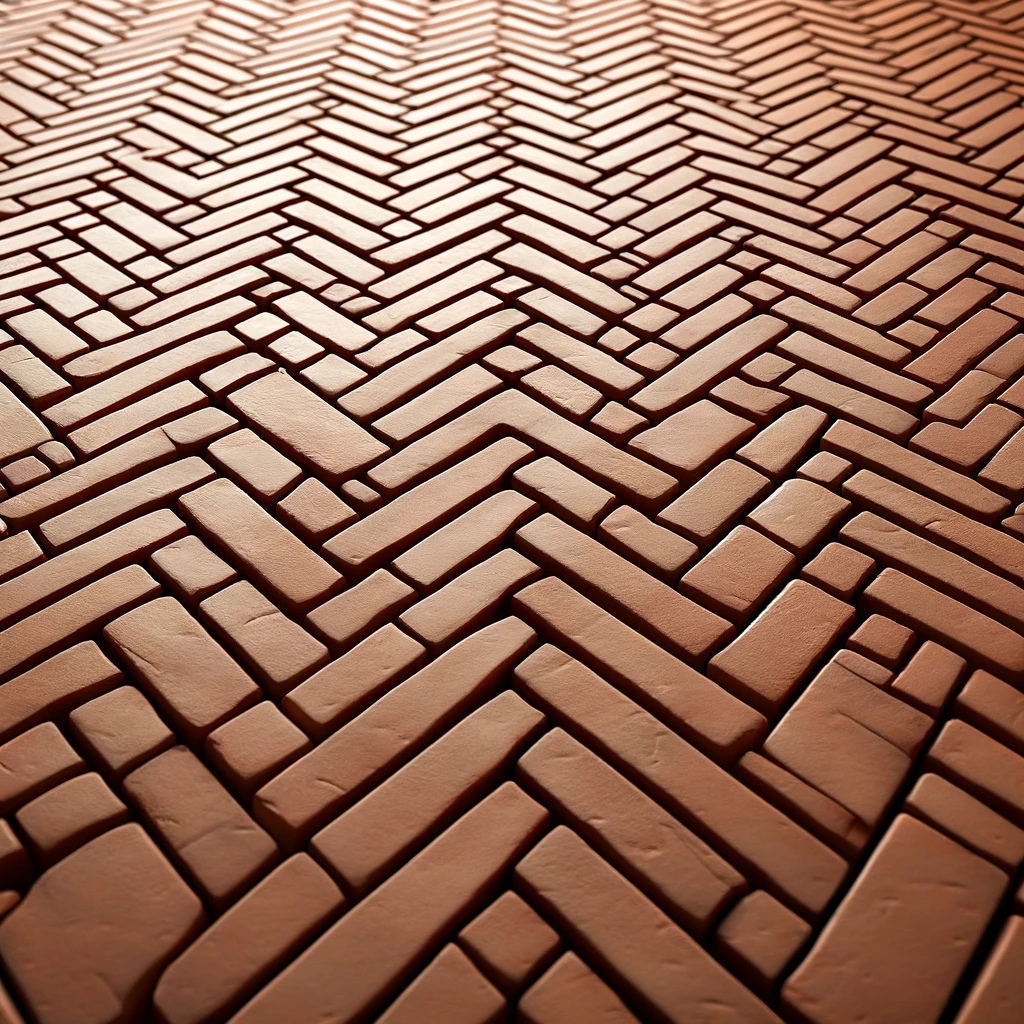
The herringbone pattern is a classic design used in brick masonry and other types of construction. Named for its resemblance to the skeleton of a herring fish, this pattern consists of bricks arranged in a zigzag formation, creating a visually striking and structurally sound surface.
Historical Context
Origins
The herringbone pattern has roots in ancient Roman architecture. Its durability and aesthetic appeal made it a popular choice for roads and plazas.
Modern Usage
Today, the herringbone pattern is used in various construction projects, from flooring to pavements, and is favored for both its functional and decorative qualities.
Structure and Layout
The characteristic zigzag formation is achieved through a specific arrangement of bricks. Here’s a simple breakdown:
- Bricks are laid at a 45-degree angle to form a “V” shape.
- Each subsequent brick is placed at a right angle to the previous one, continuing the zigzag pattern.
- This alignment results in a tightly interlocking structure that enhances load distribution.
Practical Reasons for Using Herringbone
Durability
The interlocking nature of the herringbone pattern distributes weight and stress evenly, making it ideal for high-traffic areas.
| Material | Durability Rating |
|---|---|
| Concrete | High |
| Clay Bricks | Medium |
| Stone | Very High |
Aesthetic Appeal
The herringbone pattern provides an eye-catching design that adds texture and dimension to surfaces.
Installation Process
Preparation
- Ensure the surface is level and free of debris.
- Mark the central point from which you’ll start laying the pattern.
Laying the Bricks
- Begin at the center and work outward to maintain symmetry.
- Use spacers to keep the pattern consistent.
- Check alignment frequently to ensure accuracy.
Finishing Touches
- Fill gaps with mortar or sand.
- Seal the surface for added durability and weather resistance.
Examples in Real Life
The herringbone pattern can be found in various iconic structures and public spaces. For well-documented examples, you can check out this section on Architectural Digest‘s website.
Applications of the Herringbone Pattern
Use of the Herringbone Pattern in Wall Design
The herringbone pattern doesn’t limit itself to floor design. It’s also widely used in wall design due to its ability to create a focal point and interest. Whether it’s a living room feature wall, a kitchen backsplash, or a decorative element in a bathroom, the herringbone pattern adds considerable sophistication to interior spaces.
Use in Garments and Upholstery
Believe it or not, the herringbone pattern isn’t confined to architecture. In the production of garments and upholstery, the herringbone pattern, due to the interlocked weave of the fabric, provides flexibility, strength, and can hide stains and dirt due to its intricate pattern.
Woodworking and Parquetry
This pattern has also been a favorite for woodworking and parquetry, the art of creating geometrical and angular designs in wooden floors. It provides a unique aesthetic appeal that cannot be achieved with a simple plank or square arrangement.
Different Variations of the Herringbone Pattern

Classic Herringbone Pattern
The classic herringbone pattern follows a strict alternating pattern of “V” shapes, with each brick layer perpendicular to the one before it.
Modified Herringbone Pattern
In contrast, a modified herringbone pattern features slight variations. For instance, the tiles or bricks are sometimes arranged so that the “V” shapes are not exactly perpendicular to each other but rather, they may create other angles like 60 degrees or 120 degrees.
Dual Herringbone Pattern
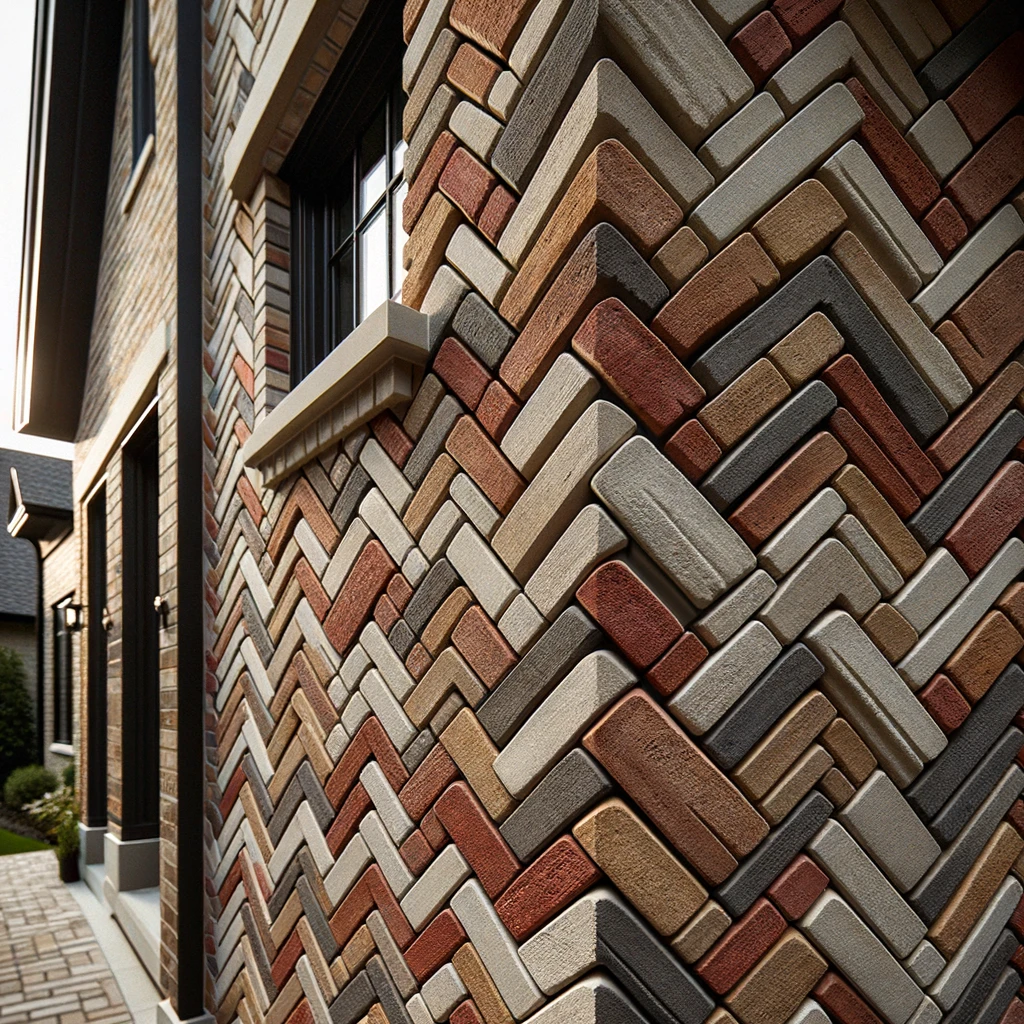
A dual herringbone pattern, on the other hand, generally packs two colors or shades in one design. Here, two distinct colors or textures of tiles are used to craft the herringbone pattern. The final look is invariably dramatic and instantly elevates any space where it’s applied, from floors to walls.
Points to Consider When Using a Herringbone Pattern
Space and Size
The size of the tile or brick used in a herringbone pattern can greatly influence how the finished layout will look. Smaller tiles can create a busy design that may become overwhelming in a large space, while larger tiles can create a bold, modern appearance.
Choice of Material and Color
Visual interest can also be added to a herringbone design by experimenting with different materials or contrasts in color. Materials range from traditional brick and stone to polished ceramic and rustic wood.
Maintenance
While creating striking designs, a herringbone pattern with smaller elements could require a bit more maintenance than a floor with larger elements due to the increased number of joints. Therefore, when choosing a herringbone pattern, it’s worthwhile to consider the ease of maintenance.
Budget
The complexity of the herringbone layout can increase the installation cost compared to other simpler patterns. It’s essential to factor in the extra time and effort required to install this pattern while planning your budget.
Don’t let these complexities deter you, though, as the finished result with a herringbone pattern can truly be a work of art, as seen in many historical and modern-day edifices captured by Getty Images.
Benefits of the Herringbone Brick Pattern

Enhanced Visual Appeal
The herringbone pattern is known for its eye-catching zigzag layout, making it an excellent choice for anyone looking to add an element of sophistication to their space. This pattern elevates the aesthetics of floors, walls, and other surfaces, ensuring that the area stands out.
Increased Structural Integrity
One of the key benefits of the herringbone pattern is its structural strength. The interlocking design distributes weight and pressure more evenly, which makes it more resilient to wear and tear over time. This is particularly advantageous in high-traffic areas where long-lasting durability is essential.
Versatile Applications
While often seen in floors, the herringbone pattern is just as useful for walls, pathways, and even textiles. Its versatility means you can incorporate this pattern into various design elements, giving a cohesive look throughout your home or project.
Flexibility in Material Choices
The herringbone pattern is not limited to a single type of material. It can be executed using a variety of materials, including:
– Brick
– Concrete
– Wood
– Ceramic
– Stone
This flexibility allows for customizing the look based on the material’s texture, color, and finish, making it easy to adapt to different architectural styles.
Ease of Repair
The interlocking nature of the herringbone pattern also makes it easier to repair. If a section of the pattern becomes damaged, individual bricks can be replaced without disturbing the entire installation. This convenience can save time and money in the long term.
Ideal for Small Spaces
Interestingly, the herringbone pattern can make small spaces appear larger. When arranged in smaller areas, the zigzag design draws the eye across the surface and creates an illusion of a more expansive area.
Timeless Appeal
The herringbone pattern has been in use for centuries and remains a popular choice in modern design. Its timeless appeal ensures that it won’t go out of style anytime soon, offering a long-term value for your investment.
Customization and Personalization
Beyond the traditional layout, the herringbone pattern allows for various customizations. You can experiment with different colors, materials, and even incorporate personalized elements into the design. This makes it easier to create a unique and individualized look.
Practical Considerations
When planning to implement a herringbone pattern, it’s achievable to consider several practical aspects:
– Sealing and Maintenance: Ensuring the surface is properly sealed can prolong the life of the pattern and make maintenance easier.
– Alignment and Symmetry: To achieve the best results, maintaining proper alignment is crucial. Using spacers and regularly checking the layout can help keep the pattern consistent.
– Cost: Although the initial installation may be more labor-intensive, the durability and visual appeal can provide excellent returns on investment.
Don’t get overwhelmed by the intricacies of the herringbone pattern. When done right, the result can be a visually stunning and structurally sound addition to any building or decorative surface. To see the pattern come to life, you can explore a variety of usage examples in architecture and design over at Architectural Digest.
How to Lay Brick in a Herringbone Pattern
Tools and Materials Needed
Laying bricks in a herringbone pattern requires specific tools and materials. Make sure you have the following:
- Bricks or tiles
- Leveling tools (spirit level, chalk line)
- Tape measure
- Mortar or adhesive
- Notched trowel
- Spacer guides
- Rubber mallet
- Sealant
Choosing the Right Bricks
Not all bricks are created equal, and selecting the right type is crucial for a successful herringbone pattern. Here are some commonly used materials:
| Material | Characteristics |
|---|---|
| Clay Bricks | Classic look, moderately durable, available in various colors |
| Concrete Bricks | Highly durable, modern appearance, cost-effective |
| Natural Stone | Premium look, very durable, higher cost |
Step-by-Step Guide
1. Preparing the Surface
- Start by ensuring the surface where you’ll lay the bricks is level, clean, and free of debris. Use a leveling tool to check for evenness.
- Lay a base layer if necessary. For outdoor projects, a gravel and sand layer can provide a stable foundation.
- Measure and mark the central point from where you’ll start laying the bricks.
2. Mixing and Applying Mortar
- Mix the mortar or adhesive as per the manufacturer’s instructions.
- Apply a thin, even layer of mortar using a notched trowel to create grooves for better adhesion.
3. Setting the First Bricks
- Start at the central point you marked. Lay the first brick at a 45-degree angle to the baseline to form the “V” shape of the herringbone pattern.
- Place the next brick at a right angle to the first one to continue the “V” shape. Ensure the bricks are tightly aligned using spacers.
4. Continuing the Pattern
- Work outwards from the center, constantly checking alignment with a spirit level.
- Use a rubber mallet to gently tap the bricks into place, ensuring they are level and well-seated in the mortar.
- Regularly step back to view the progress, ensuring the pattern remains consistent.
5. Making Adjustments
- If you encounter any misalignments, adjust the bricks immediately. Mortar allows for minor corrections before it sets.
- Trim bricks to fit edges and corners using a brick chisel or a masonry saw.
6. Finishing the Pattern
- Fill any visible gaps with additional mortar using a pointing trowel.
- Wipe off any excess mortar from the surface with a damp cloth.
- Allow the mortar to cure as per manufacturer guidelines, typically 24-48 hours.
7. Sealing and Curing
- Apply a sealant to the entire surface to protect against weather and wear. This step is crucial for outdoor projects to prevent water infiltration and frost damage.
Don’t let the complexity of the herringbone pattern intimidate you. When executed meticulously, the results can be both visually stunning and structurally rewarding. For a closer look at how professionals incorporate this pattern into their designs, check out examples on Architectural Digest‘s website.
Wrapping Up
From its roots in ancient Roman architecture to its application in modern construction, the herringbone pattern is a classic design that blends both function and aesthetics.
Its distinctive zigzag pattern, achieved by laying bricks at specific angles, results in a durable and visually striking surface. It’s no surprise that this pattern is now standard in various fields, from flooring and wall design to garment production and woodworking.
With a range of variations extending from classic to dual herringbone designs, and the ability to use different types of materials like brick, concrete, wood, ceramic, and stone, it’s a highly flexible pattern adaptable to any architectural style. However, before taking on the herringbone pattern, consider factors like maintenance, budget, space, and material selection.
With careful planning and execution, the herringbone pattern can establish a unique and engaging design element that stands the test of time.
Frequently Asked Questions – FAQs
What makes the herringbone pattern unique?
The herringbone pattern is noted for its distinctive ‘V’ shape, resembling the skeleton of a herring fish, gaining a visually striking appearance from the interlocking bricks laid out in a zigzag pattern. It’s popular for its unique blend of aesthetics and functionality.
Is the herringbone pattern durable?
Yes, the herringbone pattern is extremely durable owing to the weight distribution made possible by the interlocking bricks. This configuration makes it ideal for high-traffic areas and longevity.
Where can the herringbone pattern be used?
The herringbone pattern can be used in a variety of areas including, but not limited to, flooring, pavement, walls, textiles, and even in the design of garments. Its versatility adds to its popularity.
What types of materials can be used for a herringbone pattern?
Diverse materials like brick, concrete, wood, ceramic, and stone can be used to make a herringbone pattern. Selection typically depends on the desired visual effect, budget, and project requirements.
Is the herringbone pattern costly to implement?
The complexity of the herringbone pattern might raise the installation cost compared to simpler patterns. However, the durability and visual appeal it offers often provide excellent returns on the investment.


